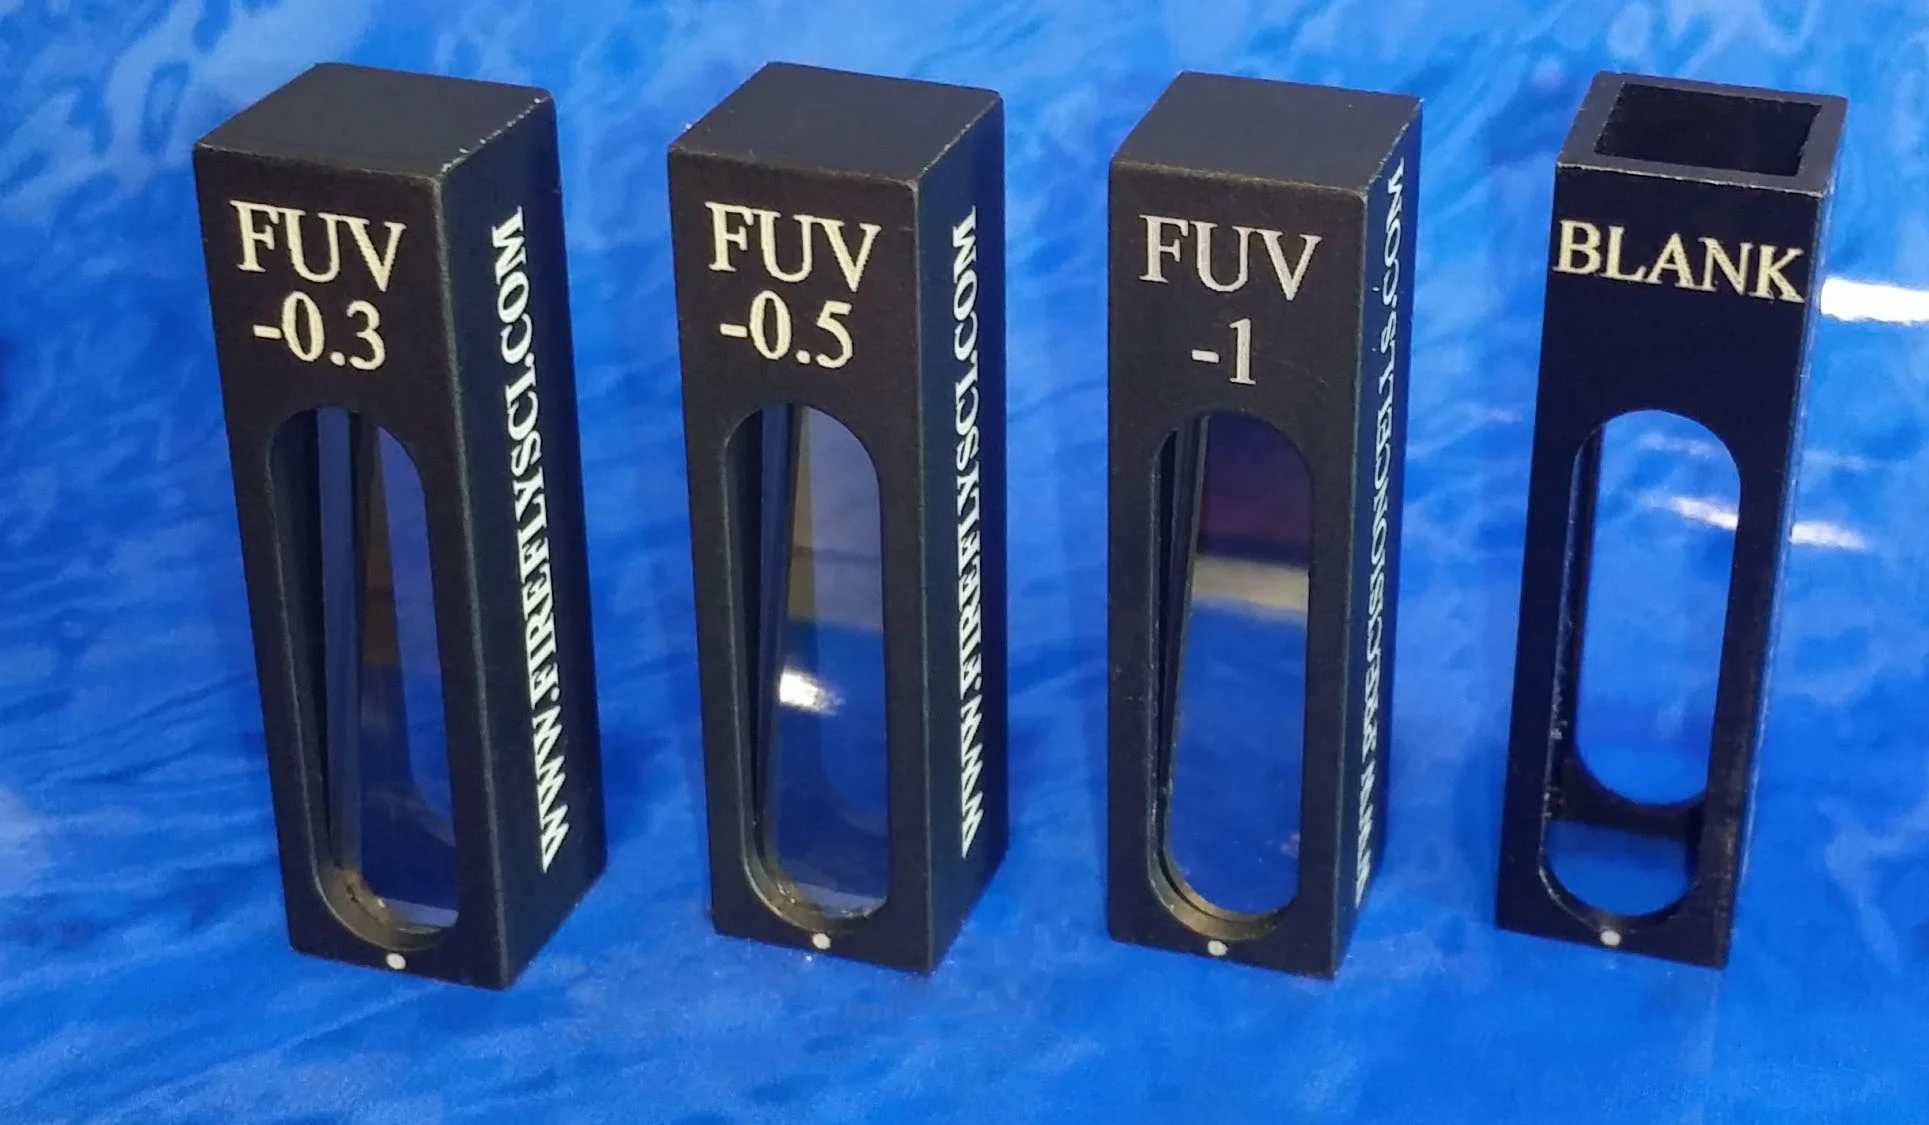
Faster DNA Quantification with FireflySci UV Quartz Cuvette
/To be able to tap into the best results when running DNA Quantification experiments you need powerful tools at your disposal. Learn how to us a simple UV quartz cuvette to get explosive results in your research.
Did you just use a UV quartz cuvette in your DNA experiment and it failed? We all know DNA samples are amazingly expensive and the pain you feel when a sample goes to waste. I was at Stony Brook Labs in New York one day and I got to witness first-hand how a fellow researcher felt to waste an extremely valuable sample. The frustration and pain I saw on this man’s face was unforgettable.
The shame and embarrassment he felt on the spot was intense, but then he had to go report this to his boss. What happened to this poor researcher is that he did not know the Z-Dimension of his spectrophotometer. He brought the wrong cuvette, inserted his $500 sample, put in in the machine only to get 100% absorbance. The sample was not recoverable and there was nothing that could be done. So in short, serious problems can happen when you don’t use the right techniques and the right tools for DNA Quantification.
Best UV Quartz Cuvette for DNA Quantification
The best UV quartz cuvette for this type of application is the Micro Focus Cell (MFC). The engineers who designed this cuvette did not gamble when it came to producing the best DNA/RNA cuvette possible. This cell was designed with your success in mind.
If it’s ok, I would like to walk you through some of the astonishing benefits of using a Micro Focus Cell in your next experiment. You only have to gain by reading the next few paragraphs so grab a coffee and relax.
Let’s start with being able to increase your work output. How awesome would it be for you to run rapid DNA Quantification experiments in minutes with zero cross contamination? The Micro Chamber (MC) literally takes seconds to clean thanks to Hydrodynamic Cleaning technology. But before I get ahead of myself we should understand how the MFC works.
Optical Body on the left, Micro Chamber on the right
The MFC is made up of two pieces: the Optical Body and the Micro Chamber. The Optical Body (see photo) is placed into your machine. I recommend keeping the Optical Body in the equipment until you are finished running all your tests. The Micro Chamber (MC) has a small 1 mm lightpath UV quartz cuvette fastened to the end. This is where the sample in placed. Then the MC goes into the Optical Body so you can run your DNA Quantification tests.
How to Clean the UV Quartz Cuvette
This is where things get amazing. It takes about three seconds to clean the Micro Chamber, and you can either retrieve the sample with a micropipette or clean the MC with a basic cleaning swab. With most samples there is virtually no cross contamination and you can run your next sample blazingly fast.
I almost forgot to mention how the MFC solves the issue from the story above. A great benefit of the MFC is that it can be used in any spectrophotometer. Yes, no matter what Z-Dimension you have, one MFC will work in all of them. The gentleman in our story above would have been really happy to have this cell as one of his tools.
You can find more details about the MFC here.
I would love to send you a Micro Focus Cell to try in your lab today. Simply send me an e-mail at info@fireflysci.com and say “Hey Simcha! Send me one of those Micro Focus Cells to try.” I’ll get it out to you right away so you can start benefiting from this super awesome cuvette.
Don’t wait, send me an e-mail now so you can see what this one single UV quartz cuvette can do to massively improve your work flow.
Here is my e-mail again info@fireflysci.com.
Here’s to Your Success!
Simcha Woitovich
FireflySci
![firefly_logo_FINAL [Black].jpg](https://images.squarespace-cdn.com/content/v1/5411d5c0e4b02e1c8b27565a/1434491508803-XB4OF7YDY46Z72L5U5AP/firefly_logo_FINAL+%5BBlack%5D.jpg)


